Farmer Carry Grip Strength Home Workout Plan
A practical home-workout plan for farmer carries, grip strength, safe loads, walking space, recovery, and stop rules.

This article is for general education only and is not medical advice. Stop exercise and seek qualified care for chest pain, fainting, severe shortness of breath, neurological symptoms, uncontrolled blood pressure, recent surgery concerns, pregnancy-related concerns, or symptoms that worsen instead of improving.
Evidence and boundary review
BodyWise Lab articles cite primary sources, show update dates, and separate practical routines from clinical decisions. Source-checking is an editorial process, not a personal medical endorsement.
Farmer Carry Grip Strength Home Workout Plan
As of 2026-06-28, this guide is written as a practical decision aid, not a shortcut around official guidance. The goal is to help a normal household choose safer defaults, notice failure points early, and avoid advice that sounds precise but is not supported by the cited public sources. Keep the page useful by starting with the situation you actually have today: equipment condition, weather, time away from home, lighting, fatigue, and who could be harmed if the plan is rushed.
Quick decision table
| Situation | Better first move | Why it matters | Stop or escalate when |
|---|---|---|---|
| New to carries | Use two light, equal objects and a short hallway | Symmetry reduces twisting and over-gripping | Pain, numbness, dizziness, or grip failure appears |
| Training for grip | Use time-based sets before heavier loads | Duration is easier to control than ego weight | Form changes before the timer ends |
| Small room | Walk fewer steps and turn slowly | Turns create most collisions | Pets, rugs, or clutter cannot be moved |
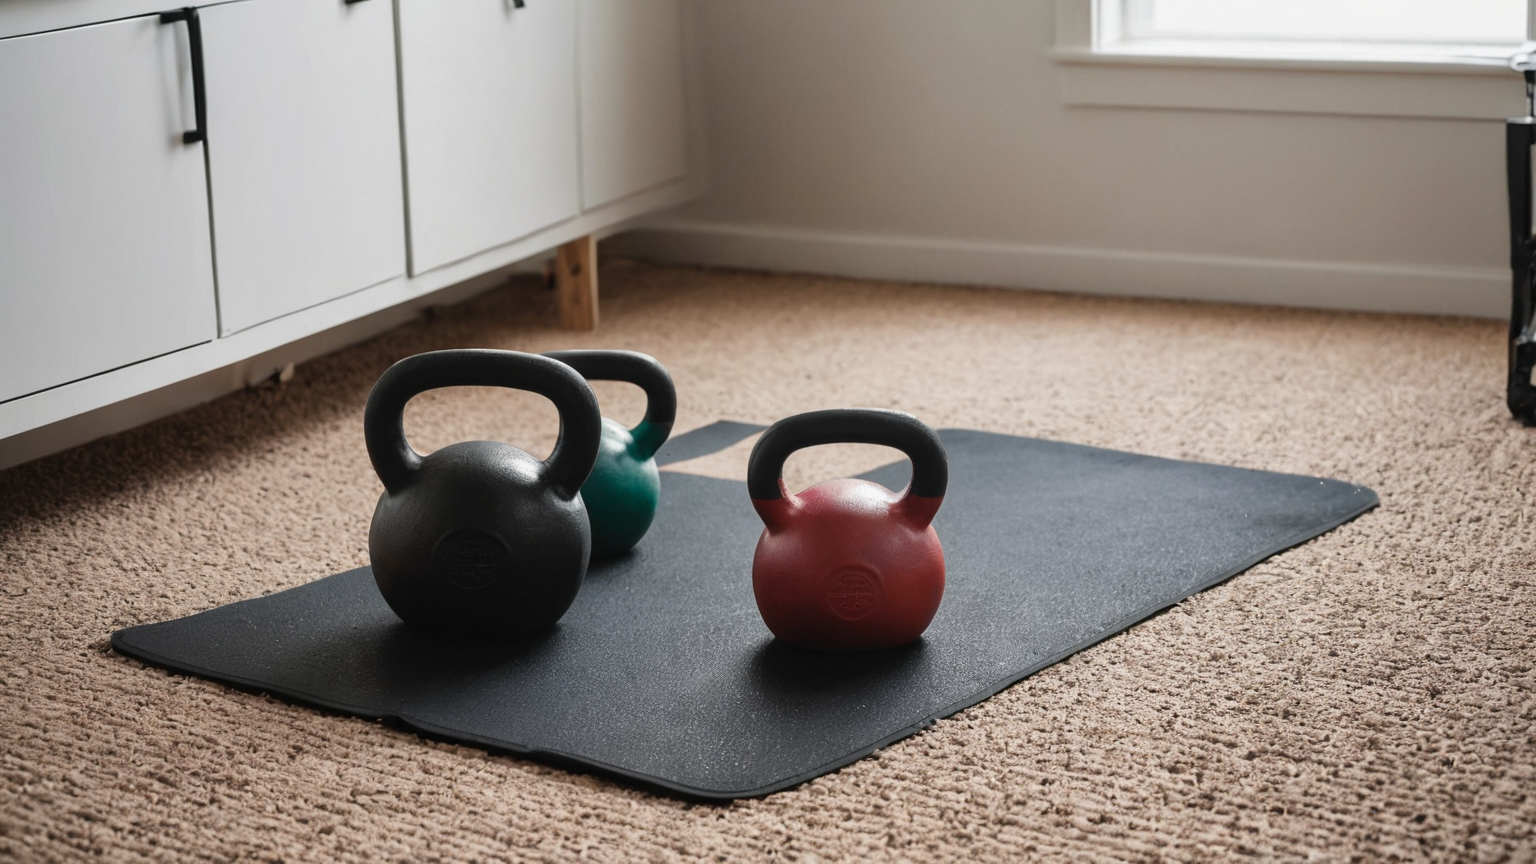
Step-by-step routine
- Clear the lane — Remove rugs, cords, shoes, and pets before the first set.
- Choose a talking load — You should breathe steadily and keep shoulders down.
- Use short carries — Start with 10 to 20 seconds, rest longer than you worked, and repeat only while posture stays quiet.
- Log recovery — Write load, time, and forearm feel so progression is based on evidence.

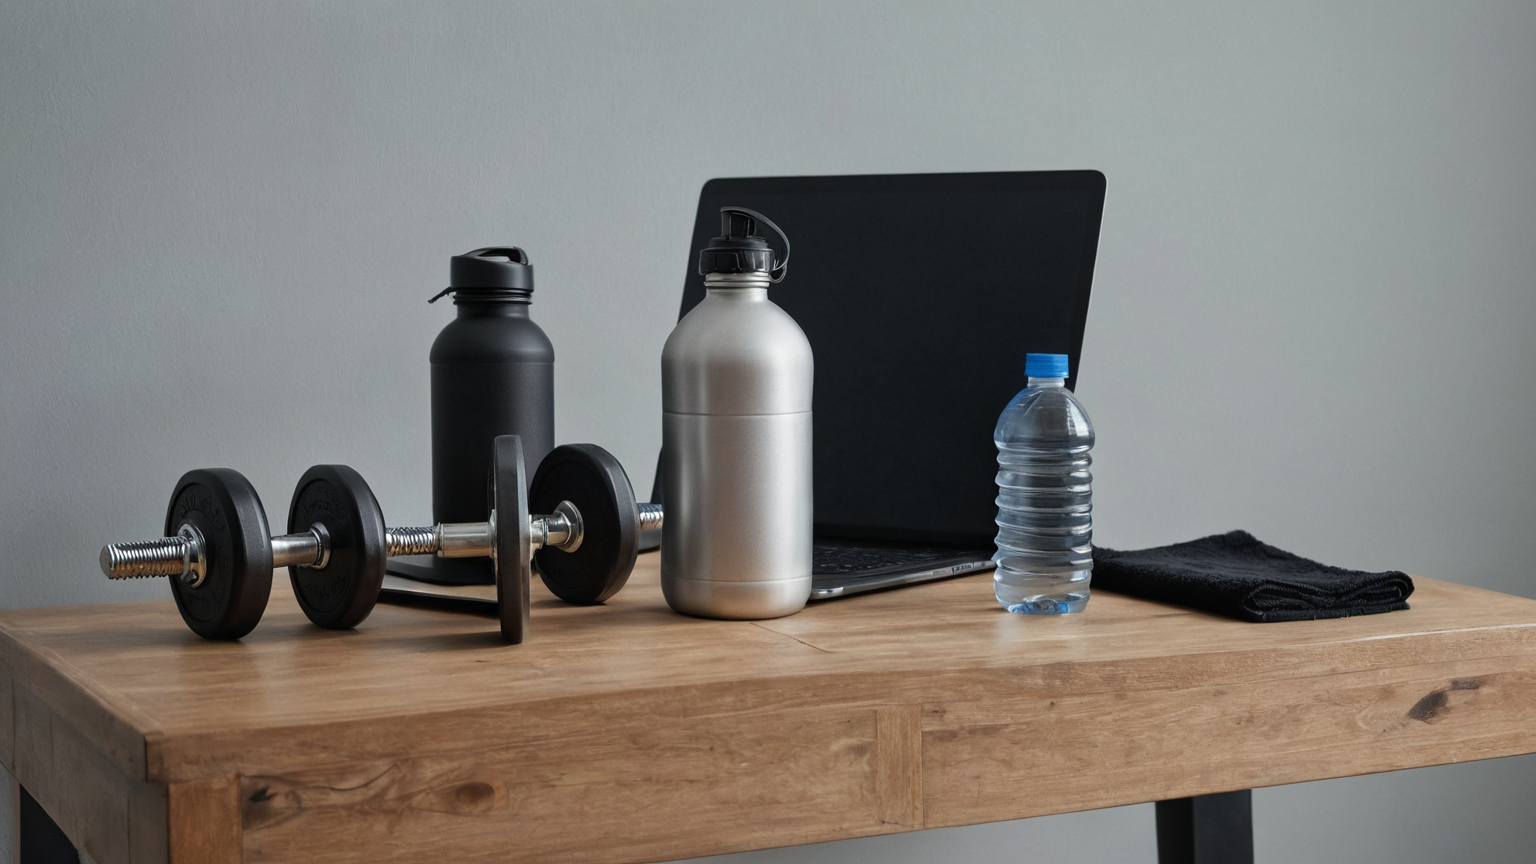
Checklist before you start
- Two matching implements or balanced bags are ready.
- Shoes are tied and the floor has traction.
- Wrists stay neutral rather than bent backward.
- You can set the weight down without dropping it.
- A medical professional has cleared you if symptoms or recent injury are present.
Common mistakes this plan avoids
- Starting too heavy: Grip training fails when the first set becomes a max test.
- Ignoring the turn: A tight turn can twist knees, hips, and low back more than the carry itself.
- Training through tingling: Numbness or radiating symptoms are stop signals, not toughness markers.

Reader-ready summary
A good farmer-carry session feels boringly controlled: short lane, balanced load, calm breathing, clean turns, and no symptom chasing. Progress by adding seconds or one small load step only after two easy sessions.
What to monitor after the first try
- Forearm soreness should fade like normal training fatigue.
- Shoulders should not creep toward ears by the final steps.
- Grip should release normally after each set.
When to pause
Pause the workout for chest pain, dizziness, unusual shortness of breath, numbness, sharp joint pain, or any load you cannot set down under control.
FAQ
What is the smallest useful action? Start with the one check that changes risk today, then record what happened so the next decision is easier.
Why so many conservative steps? The sources agree that prevention is easier than rescuing a poor setup after heat, fatigue, contamination, glare, or wasted energy has already created a problem.